From CFL to HID to LED. If you’re debating if you should upgrade your grow lights, you’re probably feeling pretty stressed right now.
I remember putting together my first LED fixture a few years back when upgrading my lights for the second time. It was a bar build using the new Samsung LED strips. I spent weeks upon months on it, learning everything I could to put it together and make it the best of the best. The work was terrible — the white LED COB and bar builds were still mostly DIY at that point. After, I took a long hiatus from researching anything related to lights. However, I could proudly say my lights were a powerhouse, beating commercial lights out there at half the cost.
Unfortunately, I learned there were a handful of things that I wish that I did differently. At the time, the extent of my electrical knowledge was don’t do this unless you want your wife to be a widow. In being so overwhelmed, I cut some corners, made some missteps, etc. It resulted in enough quirks that render the lights unviable to upgrade with future improvements.
It was a bitter pill to swallow due to all the hard work. Plus, better commercial lights did become available. But after knocking myself for not waiting longer, reading more, the whole spiel, I realized I was incredibly happy with my upgraded grow lights. In fact, it wasn’t until this year that I felt it was truly time to move on from them.
But grow lights can be an expensive and big decision. Everyone has different goals with their garden, and just because I felt the need to upgrade doesn’t mean you do. Though, in most cases, you’re really going to want to upgrade! But don’t worry, I’m going to show you how to have your cake and eat it too. That way, you have the best light on the block without breaking the bank or spending hours in research.
What To Look For In A Light?
If you are looking to buy your first grow light or have already decided to upgrade, let’s quickly go over what the best grow light can give you.
First, before we get into this much more, I’m recommending LEDs over all other sources, specifically a bar build. You’re probably like, “no duh, you write for a LED maker”. However, it wasn’t long ago when LEDs were not always the clear winner. For me, LEDs did not overtake HIDs until white LEDs like COBs and the Samsung and Bridgelux strips came out. These new LEDs — from their power to design — took grow lights to a whole new level and finally gave LEDs the top-dog status many prematurely claimed.
Efficacy and Efficiency
Bigger yields, less heat, and a lower electric bill. What’s not to love?!
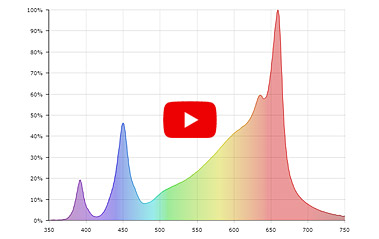
Measured in micromoles per joule (μmol/j), the more light within PAR a fixture can produce from a watt (equivalent to one joule per second), the better the fixture’s efficacy — called photosynthetic photon efficacy to be exact.
Then, we have efficiency, which is how successful that light is at escaping the fixture and making its way to the plant. A 300w LED and 300w HID will still draw the same amount of power from the wall and produce the same BTUs of heat. But since LED efficacy and efficiency rates are significantly better, it produces way more bang for your buck, so you don’t need to use as much electricity.
A good LED fixture is always the most cost and environment-friendly solution. Some still have a higher initial cost, but it’s significantly lower than it was before. Even then, it was worth it as it took only a few grows to recoup the cost. Now though, with the 30 to 70+% improvement in yield and reduce electricity costs you get with LEDs over HPS, you’re likely to save money on your first grow alone. In particular, the bar LED design goes above and beyond other LEDs thanks to the spread-out diodes.
Optimizing Yield
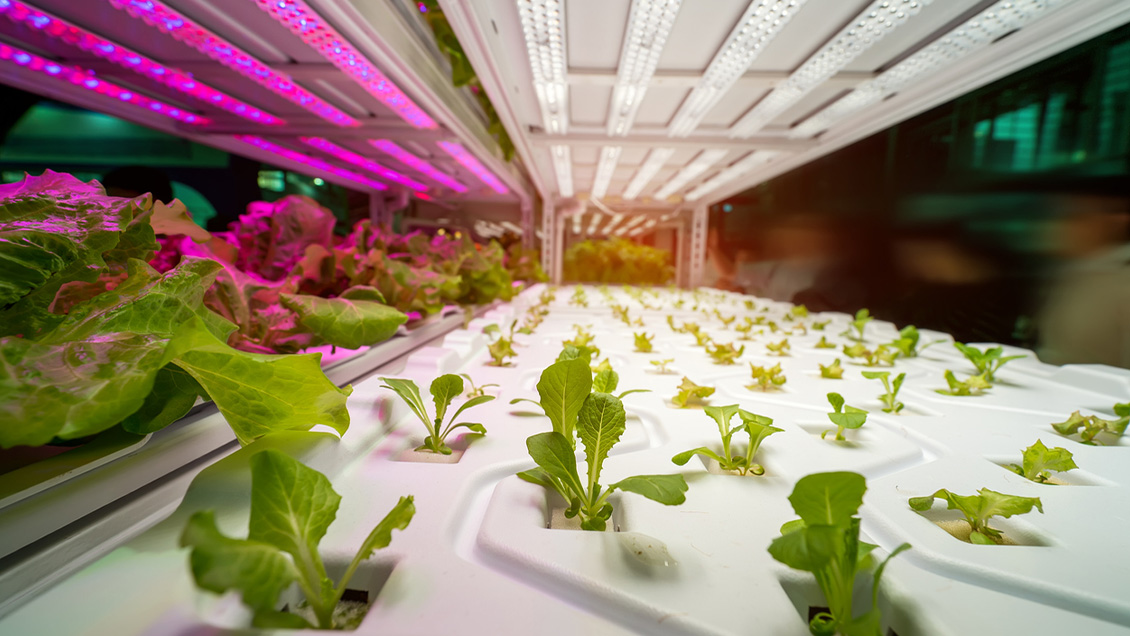
If nabbing the best yields possible is your goal regardless of cost, a fixture that gives your plants all the light they need along with additional supplementation of blue, deep red, far-red, and UV light is your goal. How much of these spectrums, and when you give them to your plant, is unique to the crops you’re growing. For example, lettuce and other shade-tolerate plants love lots of far-red almost all the time, promoting outward growth and big leaves. For other plants, you’ll want to wait until flowering before hitting it with lots of far-red. This prevents upward stretch and messing with their vegetative cycle due to it being both a shade-intolerant and short-day plant.
Since these spectrums have different effects on plants, the best lighting source is one that allows you to control when and how much you want to give — unless you only care to grow one type of plant.
To do this with HIDs, you change the bulb you use for the veg and bloom cycle. HIDs bulbs like HPS produce a good bit of red and far-red that’s usually desirable for flowering, where metal halides produce a lot of blue that’s usually desirable in the vegetative cycle. This will take you far in your yield goals but will leave you just missing it.
With LEDs, getting far-red and UV is a bit more difficult at the second, as most fixtures don’t have these diodes, forcing you to supplement in lamps. Right now, it’s a little more work and extra cost for sure, but it’s the only way to truly achieve your goal. For example, with some crops, you can use far-red to extend how much light you give them in a 24hr day without hurting their flowering. All you do is run a short period of far-red after the main lights have turned off to signal to the plant it’s time for sleep, then run a short period of deep-red right before your main lights come on.
Don’t want to do the extra work adding UV, far-red, or concerned you should wait for fixtures with it? No worries. While some crops under HID may have slightly higher levels of secondary metabolites, the increase in overall yield from LED more than makes up for this. Plus, to get the best use of UV and far-red, you want the ability to control when to turn them on/off independent of your main lights. While a commercial bar LED fixture may not currently have non-PAR spectrums, when crafted well, they are best set up for amending them.
Fortunately, supplementing in varying amounts of blue and deep red light is very easy to do with bar LEDs. And you can be way more precise about it than with HIDs. For example, you can run extra blue on only half or a quarter of your fixture, allowing you to move plants that are stretching too much in veg under them. No taking them out of the tent or placing the smaller plants on platforms to compensate for the unevenness. Again, even this isn’t needed and you can more often than not stick with a flowering-optimized spectrum the entire time.
CFL/T-series
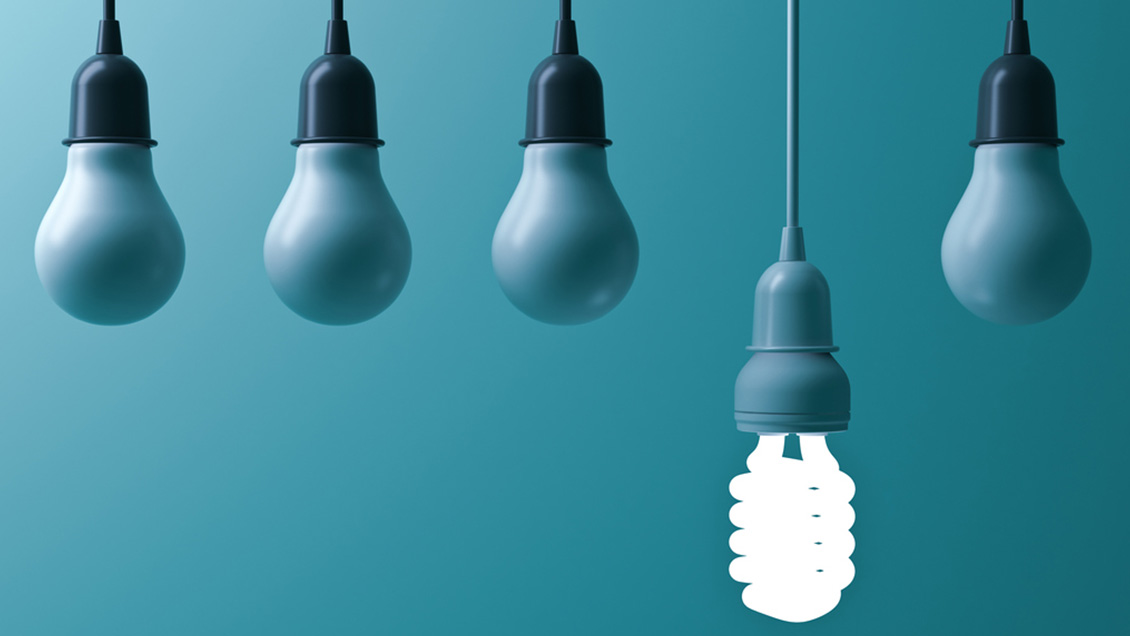
It’s saddening to say it since these were the lights I started with, but CFLs of all types just aren’t worth it anymore in really any sense. This includes the T5 and T8, which make great lights for germinating and early vegetation. CFLs were nice because they were easy to implement, common, small, and cheap, but a small LED fixture does all that and more now.
You can, of course, use CFLs for a plant’s entire growth cycle, but you should avoid it or upgrade if you want more than just acceptable quality and quantity yields. Trust me, you do! Again, you will quickly recoup costs.
HID
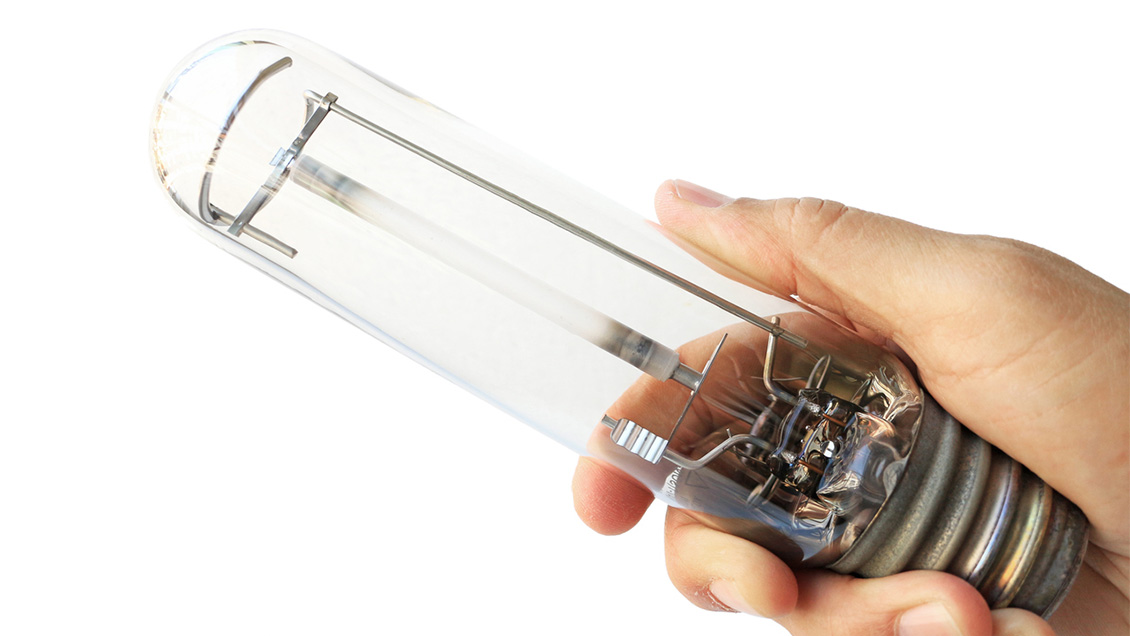
HID bulbs, whether they are high-pressure sodium or metal halide, are fantastic lights to grow with. They were the king of grow lamps for decades. In fact, until within the last few years, I wouldn’t have recommended upgrading to LED at the time unless you were having issues with your HID setup. Now, in most cases, it’s time to upgrade your HID light to a LED that will give you bigger and better yields while also saving you a lot of money. Plus, they won’t color your plants in a yellowish light that makes it trickier to judge a plant’s color for health.
So, since I said in most cases, when don’t you need to upgrade? Well, if you find yourself only growing once a year and don’t struggle with the classic issues of an HID setup, it’s OK to want a bit longer. Seriously consider making the LED switchover when your bulbs burn out.
LED
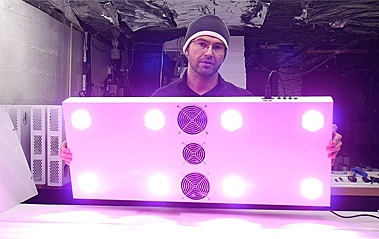
Let’s talk about blurples or LED fixtures that only feature red and blue diodes. While touted as superior to HID bulbs for their efficacy and efficiency, blurples never personally won me over. First, because marketing for them was, and still is, laced with deceptive language.
More importantly, the blurple color makes it incredibly difficult to diagnose plant issues. I can’t stress how important it is to monitor your plants’ entire greenness when deciding how much nutrients to give. The broader spectrum from HID bulbs and, especially, white LEDs is so much more preferable in this regard. As well, it makes transferring to growing outside under natural light much easier.
Another benefit is the superior cooling ability of new LEDs, many of which allow for passive cooling. This is great if you’re struggling with a lack of headroom, loud fans, extra costs from running them, etc. So should you upgrade your blurple? Most likely. Especially, if it was falsely advertised/counterfeit — don’t get yourself down, it happens to the best of us — or it was on the lower end.
Some blurple fixtures produce pretty nice efficacy numbers, which may push you away from upgrading to a comparable white LED. However, alongside the other advantages, a white bar fixture can have its lights replaced at any time without needing to replace everything else like the housing unit, the driver the powers it, etc. Damage a diode; no problem. Want to try a new spectrum out; no problem.
Choosing The Best Light
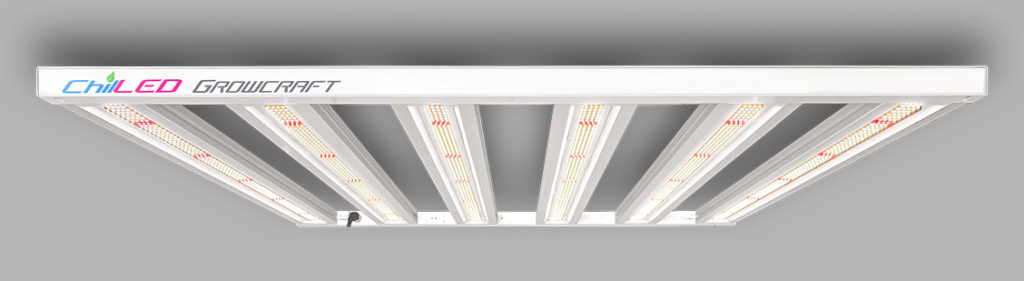
As we see, a good LED fixture is unbeatable, but there are a lot of different versions, and we saw some that aren’t so great. So which is the best for your plants? My vote is for the broad spectrum LED with the bar design.
I love bar LEDs; they often only need passive cooling to keep their temperatures down. As well, they are the best for evenly spreading light across the canopy, which also allows it to penetrate deeper since light is coming from multiple directions. Another favorite thing is by swapping out the bars, you can easily change and customize your light spectrum. This is great if you plan to grow different plants under your light. As well, when built by people that know what they are doing, these lights are best set up for self upgrades that will allow them to run far-red and UV independently. This was my biggest issue with the lights I built — they could be upgraded, but it would take a lot of work, and I messed up on less complex things last time.
So, to avoid the issues that happen to me when I built my lights is actually pretty easy. You don’t have to go completely DIY or DIY at all as I did. When I built my lights, I didn’t have any commercial options if I wanted to go with the best LEDs. You do! And you should certainly take them.
DIY is still nice because it’s cheaper and fun, and that’s why I really like the DIY Growcraft Kits. They still give you the perks from above, but without all the arduous work from choosing which driver to power with to which spectrum is best. Hate DIY? That’s fine as well, and you can pick up a prebuilt plug-and-play Growcraft that will rule any light on the block.
Latest articles by Nick (see all articles)
- Growing Indoors vs. Outdoors - December 22, 2022
- The Perks Of Urban Gardening - December 8, 2022
- Why The Indoor Plant Market Is Growing Rapidly - November 25, 2022
Nick
Gardening is a never-ending journey. And not only am I here to document mine, I’m here to help you with yours. From growing up on a farm to wiring DIY lights for a basement to growing out in the open again, it’s fair to say I’ve been around the garden block.
See All Articles by Nick

Great article. Thanks for the information! I appreciate it 🙏😌
Great article! Always loving the content and your customer service is unmatched! Of course your products continue to blow me away with each new addition!😎😎😎Stay happy! Stay healthy! Stay chillllllleeeeeeddddd!! 😎 💯
Thank you for the kind words Mike! You rock. Keep it ChilLED 😉 -Austin